I have taken a hiatus from new posts and have been expanding my knowledge in areas around body care, youthing (anti-aging) techniques, Tantra, and more. I’ve been really busy with getting a bodywork practice going…
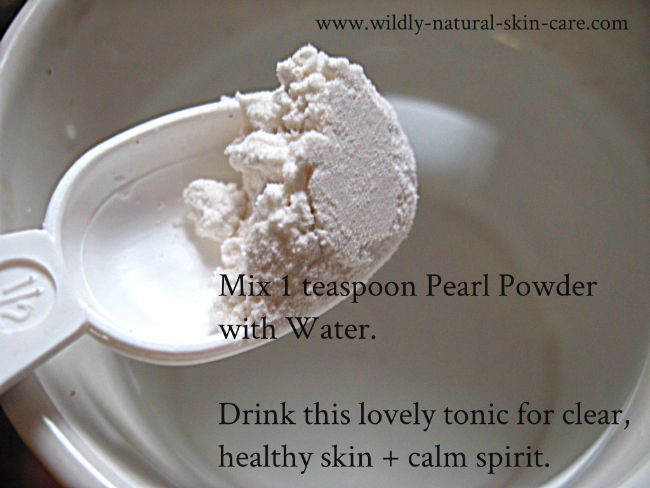
Pearl Powder is an anti-aging, refining, make your skin glow powder that you will want to try. Click here if you didn’t get a chance to read 3 Gorgeous Ways Pearl Powder Can Transform Your…
Sex. Body. Juiciness. Love. Oils are the trees’ nut juice. Seriously. The pressing of the oils nuts and seeds is what allows the oil to come out. They are fatty, plump, silky, and have and…
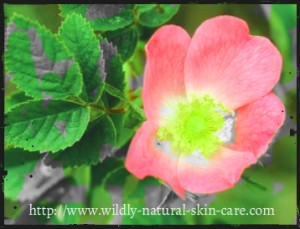
Learning how to make rose oil using the simplers’ method is quick and effective.
Before we get into it though, read the article on the best oils for your skin type to figure out the best carrier oil for your unique skin type or condition.
To make your rose oil the most potent it can be, you should know which type is best for you.
With that checked out, let’s begin!!
If you have access to fresh rose petals, you are abundantly blessed! Allow them to dry for 12 to 24 hours so your batch doesn’t develop mold.
Note that rose oil discussed here is the herbal-infused oil and is different than rose essential oil. Making essential oils requires more sophisticated technology and loads of plant material. Herbal-infused oils are simple to make and are quite medicinal in nature. The aroma is generally much more gentle than that of an essential oil.
Directions for Making Rose Oil With the Cold Infusion Method
Work with intention, allowing space in your busy life to be present. It is fitting to say a short blessing or prayer that the final product is an effective healer.
Rosa centifolia and Rosa damascena are the most commonly available Roses and are well-suited for herbal skin care.
1) Fill a clean jar ¾ full with freshly dried or dry rose petals and buds. You can break up and bruise the petals gently.
2) Fill the jar to the top with carrier oil of choice. I use extra virgin olive oil most commonly, though sweet almond or coconut (melted) would work well.
3) Cap and shake to distribute the herb.
4) Label with the herb used, where it is from, the oil used, quantities of each, the date and the method of preparation.
5) Allow the jar to sit in a cool, dark place, shaking daily.
6) At 4 weeks/28 days/1 moon cycle, strain the oil into a clean bowl, squeezing the herb to get every drop. I find it helpful to use an old t-shirt or cheesecloth to catch the herb. Then lift the t-shirt with herb in it and squeeze that.
7) The strained liquid is your finished oil. Essential oil can be added or it can be left as is. It will have the sweet scent of roses, though it may be light. You could always make a double or triple infusion, where you would use the filtered herbal oil as the carrier oil for a fresh batch of rose petals.
Rose Oil can be used as any other herbal oil, for cosmetic, massage and medicinal purposes.
Both oregano essential oil and the herb can be used for many infectious, fungal and antiseptic purposes.
The oil is stronger and therefore can act more quickly and surely than using the whole herb; however, the herb is useful for milder conditions and general cleansing and toning uses.
Below are the skin care uses for both whole herb and the essential oil.
Oregano Origanum vulgare
Habitat: Native to the Mediterranean, oregano likes a hot, sunny and dry location. It grows as a perennial and makes a fine groundcover here in Pennsylvania. Being useful also as an insectary plant, it is a star in permaculture.
Parts used: leaves and flowers Pertinent Information About Oregano for Skin Care
Oregano is a well-known culinary herb and has an ever-growing popularity for its medicinal and cosmetic uses. It is an antiseptic, antibacterial, antifungal both in the herb form and the essential oil. Oregano oil was found to have the highest and broadest antibacterial, antifungal activity out of 5 tested essential oils. It is also a very strong antioxidant and was found to have the highest antioxidant activity among the same selection of herbs.
The oil being extremely concentrated makes it potentially more potent and to be used with greater caution. Oregano essential oil is to be used diluted only. The dilution rate should never be higher than 3%. Being that the oil is high in phenols, it can burn the skin and mucous membranes, as well as act as a liver toxin. If using the essential oil treat it like an antibiotic and use the preparations for 12 days maximum to kill the cause of the condition.
The following applies to both the whole herb and oregano essential oil, with the oil being a more potent source of the following properties.
The properties & actions of oregano:
Warm and stimulating
Cleansing
Astringent
Analgesic (pain-relieving)
Antibacterial, antiviral, anti-parasitic, and antifungal
Oregano is useful for the following skin conditions:
For acne, it will assist with its antibacterial actions and as an antiseptic as well.
In wound healing, use oregano to stave off infections.
If infection is present, oregano will help to heal as it is an antibacterial and antifungal herb.
Used for fungus infections like ringworm, athlete’s foot, Tinea versicolor and skin yeasts
External parasites like scabies
Warts (best when mixed with castor oil)
Large pores
Ways to Use Oregano
For skin care uses, oregano can be prepared in many ways, including as an infused oil, a tincture, a vinegar and a tea. The dried herb can be added to a cleansing grains mix for skin conditions like acne or over oil production. Alternatively, oregano essential oil can be added to other preparations for its extremely powerful properties. It is like oregano to the 10th power so is used in small amounts.
Aloe vera gel 1 ounce
Oregano essential oil 4 drops
Tea tree oil 4 drops
Lavender essential oil 3 drops
Directions:
Simply pour aloe into bottle and add the essential oils. Shake well and apply with cotton or clean fingers twice daily.
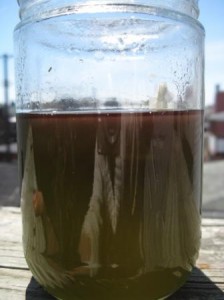
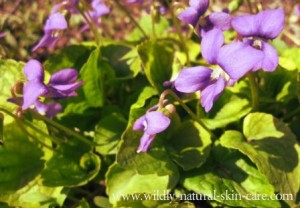
The violet is an especially medicinal little plant and making violet flower oil is literally magic. I went searching for these tiny beautiful flowers yesterday to make one my herbal oils that I often rave about. Though it took me three hours to find a healthy patch, once amongst the violets, it was all worth it.
Making herbal oils is quite easy, yet, if you haven’t made one there are several points to keep in mind. You can read the full details on making herbal oils here. Basically an herbal oil or an herbal-infused oil is macerating (soaking) herbal material (can be flowers, leaves, roots, seeds- any plant material) in a carrier oil.
Tips for Making Violet Flower Oil
1) Violet flowers are especially lovely, yet the leaves are quite medicinal as well. For a blend, you could do 75% flowers and 25% leaves or some other ratio.
2) It is great to let the flowers wilt overnight to avoid excess moisture in your finished oil. Water will make the oil get moldy and not very useful.
3) There are several methods to making herbal oils; I’ve detailed the stove-top method below.
4) Wildcrafting, especially in urban environments, comes with special considerations. Make sure to find a clean area: away from traffic, dog paths or chemically sprayed areas. It can be tricky if you don’t have a yard!
How to Make Violet Flower Oil Using the Stove-top Method
What you will need:
~Violet flowers and leaves- fill the jar to a light pack- if you can’t harvest fresh violet, you can purchase it here
1. Collect violet flowers after the morning dew and before any strong sun hits them. You want the flowers to be fresh, vibrant and intact. Lightly pack a jar the size of the amount of finished oil you would like. For example, I filled up a quart jar with flowers and some leaves too.
2. Allow the flowers to wilt overnight to evaporate some moisture.
3. Now time to make the oil. Set up a double boiler, which is basically a pan with water in which you will place either a pot or a heatproof glass jar.
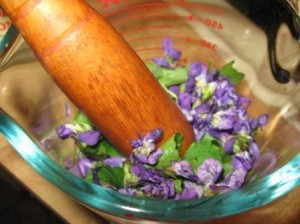
4. Break up the flowers with a mortar and pestle and place in the jar or pot.
6. Place the jar in the water and turn on the fire.
7. Using a chopstick, continually check the temperature of the oil and agitate the herbs. You want the oil to be hot, but not burning. If it is burning your skin, turn the heat down and/or remove the herb/oil infusion until it gets right below that warm/hot spot.
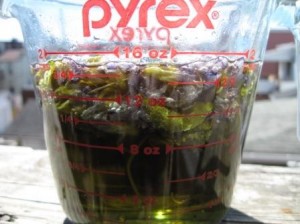
8. Allow the mix to warm for an hour minimum and as long as four hours.
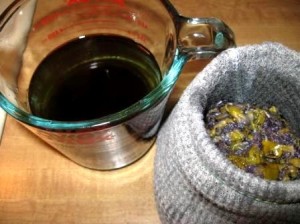
9. Strain the oil through an old cloth or cheesecloth. If using somewhat fresh herbal material, do not press the oil as that will make the water go into the mix. I just lightly tap the material to release some of the oil but don’t expect to collect it all.
10. If you think there is some water in your mix, allow it to rest and the water will fall to the bottom. You can then decant the upper layer of oil into a new jar.
~Cooling: making it a prime remedy for heat and inflammation
~Mucilaginous: very soothing and moistening texture, especially suited for dry and irritated conditions, including skin
~Dissolving: violet works with the lymphatic system to break down and move blockages
~Magical: violet is the color and holds the energy of the third eye, ajna, chakra and helps to open up intuition and seeing layers within present reality clearly. It can be used most effectively as an anointing oil for ritual use or before bed for revelatory dreams.
~Heart-Opening: keeping an open heart is a pre-requisite to accessing bliss. Little violet knows a great deal about the heart, remaining vulnerable and tender. Those tender spaces are where love resides.
The oil can be applied medicinally to certain areas or used as abyangha oil. It is perfect by itself but can also be blend. I am going to blend this batch with castor oil for a very detoxifying and healing abyangha oil, to move blood and chi. Here’s an article by herbalist Susun Weed where you can learn more about violet flower.
Violet is one of the moist, mucilaginous and demulcent herbs. It feels slippery and wet and is therefore very useful for dry skin conditions. It is also used often for its ability to dissolve abnormal skin cells and growths.
Habitat: Native to Europe and naturalized in North America. It can grow as a yard weed but prefers cool spots with dappled sun. It is a perennial. Read more about violet, including edible and other medicinal uses.
Parts used: leaves and flowers
Important Details About Using Viola for Skin Care
Both the leaf and flower are used in dry skin conditions, to curb growths, as a wound healer and in natural cancer treatments. In cancer treatments it is used as a poultice. It’s moist nature is suited for eczema and for healing dry and raw skin. It is also employed as an anti-inflammatory.
Viola can be put up fresh in vinegar, alcohol and oil. Being that it has a high water content, when making an infused-oil with this herb it is best to allow it to wither for a day or two to avoid mold growth. Then it can be made using a yogurt maker or the stove top method.
The properties & actions of both flowers and leaves:
Cool
Moist
Anti-inflammatory
Dissolving
Softening
Viola is useful for the following skin conditions:
Eczema and other dry skin conditions
Natural skin cancer therapies (often combined with red clover and vervain; this use is based upon the herbal literature)
Inflammation
To soften hard skin like corns, warts and calluses
Anti-fungal
Wound healer for acne sores and pimples, abscesses and old wounds that won’t heal
For burns, crushed fresh leaves are mixed with honey and used as a poultice
Violet Essential Oil
This is a very rare and precious essential oil and it is often adulterated and difficult to find the real thing. The essential oil is made from the leaf and is used most often in high end perfumery as a green and floral note.
For skin care, the essential oil is used as a circulatory stimulant, for aging skin, acne and large pores. To extend the very expensive e.o. and to increase its therapeutic effects, add a few drops to a V. odorata leaf and flower-infused oil.
Marshmallow root (Althea officinalis) is one of my very favorite skin care herbs. It is demulcent, healing and softening. The mucilaginous (aka slippery, gooey) texture is famous as the now-unrelated, dessert-concoction marshmallow. Yes, you can make real marshmallows with the herb that are highly nutritious.
I purchase marshmallow root from here. Either the powder or the whole root is wonderful, depending upon for what you want to use it!
Marshmallow has many applications. The root is most commonly used, yet the flower, leaf and stem have the similar properties in lesser concentration. If it is summer or spring and you are growing marshmallow, use the upper portions. In the fall, harvest the root for use throughout the winter.
The leaves are best when harvested before the plant flowers (like most herbs). There are some varying opinions out there as to whether the root should be extracted by cold or hot decoction. I have tried both ways and do not notice a difference in texture (and hence properties). I would suggest you try both and see what you think and then share below!!
To make a cold extraction:
For a water-based infusion, put the herb in a jar at approximately 2 teaspoons per cup, add cold water and allow it to steep overnight or for several hours.
For an oil-based infusion, fill the jar about ¾ full with herb, pour cold oil (olive oil, etc) over and allow to steep for at least 2 weeks.
Used in powder or whole form, marshmallow can be made into the following natural products:
Infused oils, the basis for salves, balm and creams (slightly or completely dried)
Cleansing mix (use dried herb for this)
Poultices (fresh or dried)
Face masks (fresh or dried)
Properties:
Marshmallow is salty, sweet, cool and moist. This gives us a good indication for its best uses: those that are warm/hot and dry. It is also used as a dissolver of hardness (like lumps and bumps).
Hot and dry skin conditions include:
Rosacea
Sensitive skin
Dry skin, including dry psoriasis and dry eczema (as a wash)
Aging skin
Marshmallow root is plumping and can sooth out fine lines, even redness and heal abrasions, nicks and other small cuts present on the skin.
Additional properties and uses of marshmallow root for the skin:
Emollient- water follows salt and marshmallow has a salty nature
Softens and breaks up hard tissues
Primary remedy for a broad range of conditions, normalizer that reestablishes balance
Specific for people who have hardening of personality, intolerance and to regulate lower chakras and strong emotions
Great for use on sore nipples
Lately I have been very intrigued by the idea and practice of decorating the body using natural colorants. Natural ways to create the colorants include infusing oils with herbs for color using plants that have high amounts of pigments. Some of these plants include indigo, madder, henna, and alkanet.
A few years ago, I played with natural dyes for cloth and it was super fun. I made an indigo dye vat and colored cloth for a reupholstering project and also for children’s activities. We took all these pieces of unused natural fabrics (like drop cloths, old curtains and so on) and dyed them reds, blues, purples, yellows using Staghorn sumac, indigo, grapes and goldenrod.
For that purpose, the plant materials were decocted into water and then the cloth was either soaked or simmered with the resulting liquid dye. The cloth was also usually prepared with a mordant (a fixative for the color) and then dyed.
So, how does it work when we want to paint the skin? Sure, the plant could be powdered and made into a paste to apply. This is awesome too. I am curious though if a more glossy or transparent effect could be made by first coloring the oils and then using them directly on the skin.
This is what I am experimenting with now! I’d like to create colored oils to be used for body painting, decorating and generally celebrating the beauty of the body. We will see if infusing oils with herbs for color works or if the finished oils will not show up on light skin.
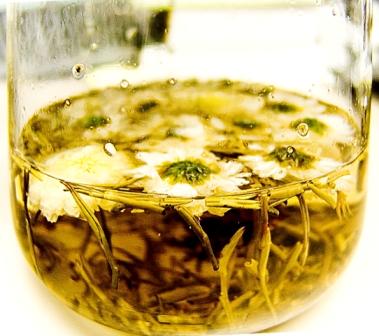
Chamomile essential oil and the whole herb are both very useful for skin conditions. Being a gentle herb with a long track record, chamomile is a go-to when dealing with sensitive skin, babies and kids.
Habitat: Native to open meadows of Europe and west Asia. Prefers full sun; dry, light, sandy, and well-drained soils. Annual.
Parts used: Primarily flowers, but leaves can be used also. Essential oil.
Important Information about Chamomile for Skin Care
Azulene is a volatile oil present in good quantities in chamomile essential oil. It has active principles that are anti-inflammatory and good for soothing and cooling burns.
Useful for abscesses, open sores and wounds as a fomentation. A fomentation is basically made as a strong tea and applied with a clean cloth to the area.
Chamomile herb is a hair lightener, used a strong tea as a rinse for blond or red hair. For dry and sensitive skin, make the herb into an oil or balm.
Chamomile infuses nicely into extra virgin olive oil or sunflower oil.
Chamomile is said to prevent gangrene when used as a poultice.
As an ointment, useful for bruises, sprains, calluses or corns.
Chamomile is a cooling and drying herb and so is suited for many aggravated skin conditions which are often hot and damp. These include acne, rosacea, psoriasis and eczema and impetigo.
Useful to bring down irritation and swelling.
The fresh herb is best to use for skin conditions because it holds the volatile oils of the plant. This is why chamomile essential oil is so effective too. The essential oil has similar uses as the herb and more!
Chamomile e.o. can be added to oils, balms, aloe gel and ointments. It can be used at a dilution rate of between 1 to 10 drops per ounce. Use it as an anti-inflammatory for acne, eczema and rashes. The presence of the plant chemical azulene gives the essential oil a blue color and also its nickname “blue chamomile”. It has calming effects and so is additionally useful for remedies for babies and stressed-out individuals or in moments of hysteria (hey, who likes open wounds??)!
The essential oil is specific for calming allergic responses, and hypersensitive skin flair-ups.
How to Make a Chamomile Bath
A chamomile bath is made by filling a small cloth bag with chamomile flowers and running the warm water over it and then allowing the bag to float around. It makes a soothing wash with a lovely distinctive apple-flower scent. The color is tan with yellow and orange hues. Chamomile is subtle and not too extreme and makes a nice bath for babies. This shop carries high quality chamomile flowers.
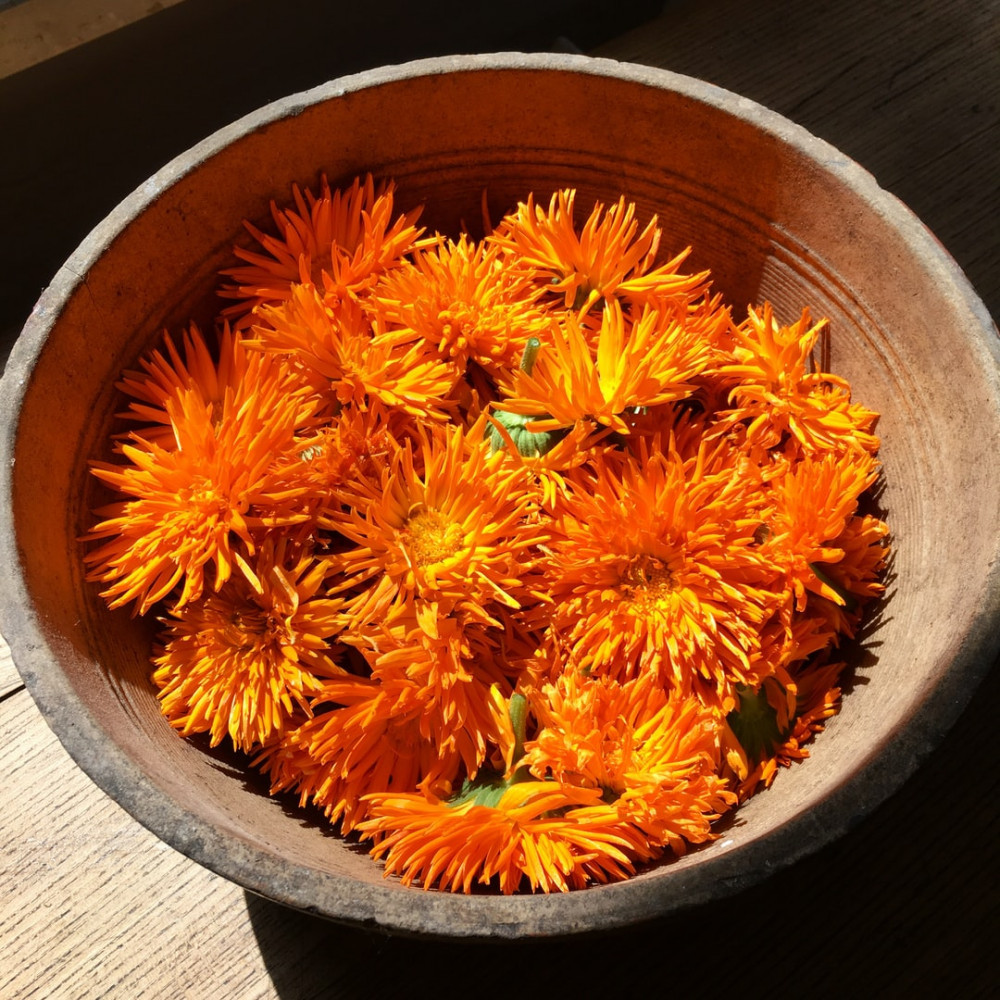
Calendula salve is a handy herbal first aid product, easy and inexpensive to make. If you have garden space, calendula is easily grown and makes a fabulous skin herb. The salve is useful whenever calendula would be used for the skin.
A salve is also called a balm or an ointment. It is a slightly hard texture and the hardness varies depending on how much wax is added. Salves are a combination of liquid oil with a wax, hard oil or butter or animal fat.
The general ratio of liquid oil to wax is 4:1. It is useful to increase hardness (using more wax) in hot climates or seasons, say with a 3:1 ratio and decrease the wax in cold weather.
How to Use Calendula Salve
Calendula salve can be applied straight onto the skin or mucous membranes. It can also be used as a moisturizer for the eye area or on the lips. Fingernails and cuticles will benefit from this salve as well. I find salves easier to work with at times than oils. Especially when you want the ointment to stay in place, a salve will be most practical. It is also a great traveler’s aid, serving many purposes as a first aid balm and natural skin care product.
Calendula salve can be used liberally, so application every hour would be fine. As long as you are experiencing improvement, continue with use. How often you reapply the salve will also depend upon the reason that you are using it. For example, if I were using it for a diaper rash, I would reapply with every diaper change, so every 3 to 4 hours. If it were for a painful brush burn on my knee, I may reapply more often, every hour or two.
1) Obtain high quality calendula blossoms, garden grown is best and high quality dried will make a nice salve too.
2) Choose the carrier oil for the salve. I find extra virgin olive oil to be a great all-purpose oil with many medicinal qualities. It is a bit heavy so if you want a lighter final product, experiment with other oils like sweet almond or apricot kernel.
3) Next, make the herbal oil. There are a number of ways to do this. Check out the article Herbal Oils for instructions.
4) Once you have a calendula oil prepared, it is time to make the salve. These instructions assume you are using beeswax. The same process will be used for other hard waxes or oils but the ratio may differ somewhat so double check those measurements or do some experimenting.
5) Set up your double boiler, which is a pan that has a few inches of water in it to which you will add the measuring cup with oil and beeswax. I like to use Pyrex measuring cups because they are tempered.
If you want to make 5 ounces of finished salve, you will use 1 ounce of beeswax and 4 ounces of calendula-infused oil by volume.
6) Pour the oil into a measuring cup to the 4 ounce mark.
7) Grate the beeswax and add enough to raise the level of oil to the 5 ounce mark.
8) Next set this in the double boiler pan, turn the flame on low and allow the water to come to a simmer.
9) Stir the mixture with a chopstick to hasten the melting of the beeswax and distribute it evenly. The heat should be kept on low, as high heats degrade oils and will lessen the medicinal effects of the salve. Keep checking on the mix and giving it a few stirs. You can check the heat by dipping the chopstick and lightly touching the underside of your arm. It should be warm but not burning.
*A tip to check the hardness of the salve is to dip the chopstick into the mix and put it in the freezer for a few minutes. This will be close to the consistency of the final salve.
10) When all the beeswax is melted, pour it into a jar. Here I prefer glass or tin. If you wanted to add essential oils to the salve, now would be the time to do it.
*Another tip is that often salves will form a dip once they settle. If you want an even surface, save a bit of salve mix in your cup. After the salve has hardened, you can reheat the salve in the cup and pour it on top for an even surface.
Using green tea for skin health is effective as a protector against cancer as well as an overall toning and astringent antioxidant. Being high in antioxidants, green tea is highly useful for sun protective formulas to prevent damage to the skin. I have used green tea extract in cream formulas, as part of the water phase, for the sun protective effects and as an overall antioxidant for preventing premature aging, lines and wrinkles.
There are several studies detailing green tea’s significant preventative effect against each stage of cancer. It contains several polyphenolic antioxidants, and antioxidants are:
“agents that have the ability to prevent oxidant-induced damage to cells”
Oxidants play an important role in the initiation and promotion stages of cancer, as well as decreasing tone and speeding up skin aging.
Using the tumor promoter agent, 12-O-tetradecanoyl-phorbol-13-acetate (TPA), researchers found that green tea topically or internally actually reduced the tumor or prevented it from growing.
Use a Water-Based Extract
The water extract of green tea is found to be most effective way to extract those medicinal components and therefore is what should be used for the skin. Both internal consumption and topical use are protective to the skin, meaning that you can drink the tea and use either brewed green tea or a green tea water-based extract on the skin.
Green tea is high in tannins, the plant chemicals that cause an astringent, drying effect. Its energy is cool and mildly bitter, making green tea for skin an anti-inflammatory useful for hot and inflamed conditions, such as tumor growth, acne, burns, and rashes.
The tannin content also makes green tea for skin a wonderful toner, gently cleansing and tightening the pores. The tea is useful on its own as a toner and the water-based extract suitable for homemade toners and astringents.
Drinking Green Tea Helps Too!
Of course, drinking green tea will help too. I like Jasmine Green Tea with raw honey. This is my regular tea during the warm season as I find it cooling and refreshing and the sun protective properties are helpful too. I drink 2 to 4 cups per day! In the winter I switch to the warmer chai tea as a regular tonic tea.
Green Tea Production
Green tea is from the plant Camellia sinensis. This is the same plant of the famous black tea, the difference being in the preparation after harvest. Whereas green tea is harvested and the fresh leaves steamed or died at elevated temperatures, black tea is taken through a fermentation process which changes its chemical structure. The leaf and bud are used for making green tea. The chemistry of the dried plant is similar to the fresh leaves, with flavanols, flavonoids and phenolic acids being the most predominant components.
References:
Green Tea and Skin- Anticarcinogenic Effects. Mukhtar, Katiyar & Agarwal. Dept of Dermatology, Case Western Reserve University. 1994.
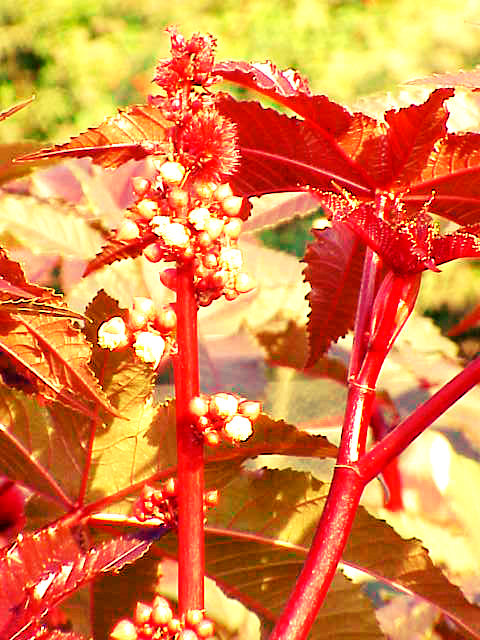
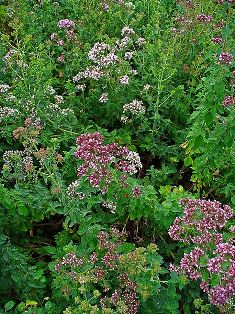 Both oregano essential oil and the herb can be used for many infectious, fungal and antiseptic purposes.
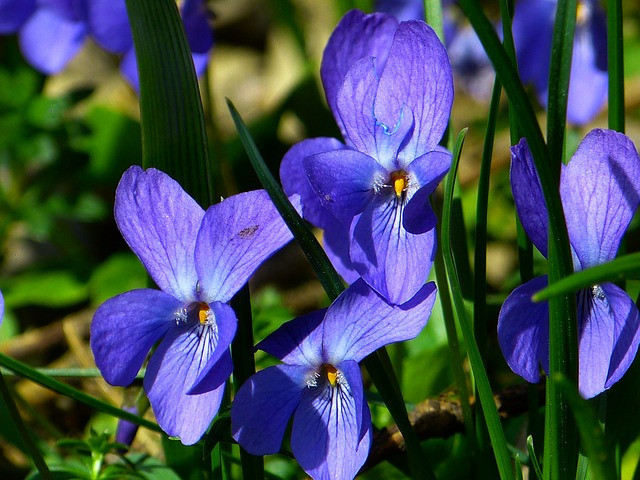 The violet is an especially medicinal little plant and making violet flower oil is literally magic. I went searching for these tiny beautiful flowers yesterday to make one my herbal oils that I often rave about. Though it took me three hours to find a healthy patch, once amongst the violets, it was all worth it.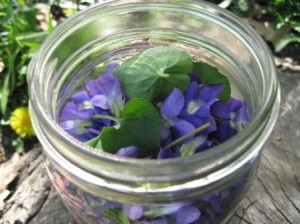
 Marshmallow root (Althea officinalis) is one of my very favorite skin care herbs. It is demulcent, healing and softening. The mucilaginous (aka slippery, gooey) texture is famous as the now-unrelated, dessert-concoction marshmallow. Yes, you can make real marshmallows with the herb that are highly nutritious.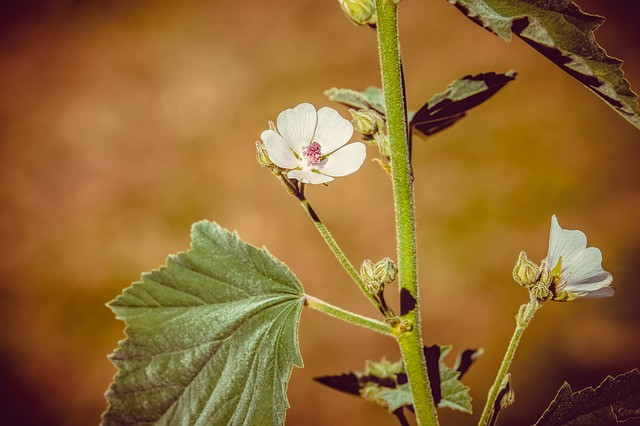
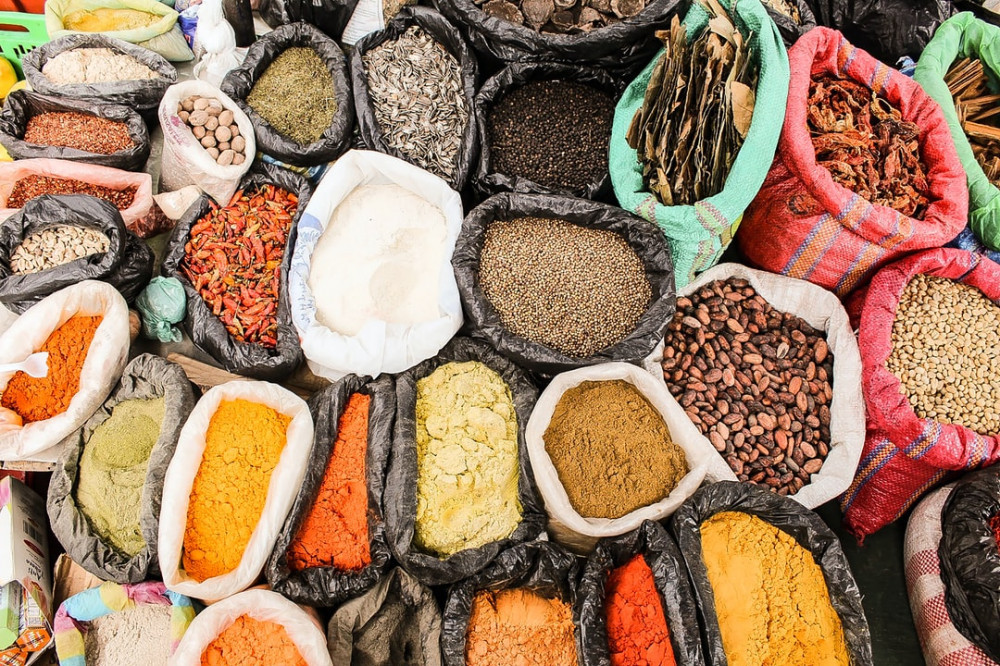 Lately I have been very intrigued by the idea and practice of decorating the body using natural colorants. Natural ways to create the colorants include infusing oils with herbs for color using plants that have high amounts of pigments. Some of these plants include indigo, madder, henna, and alkanet.
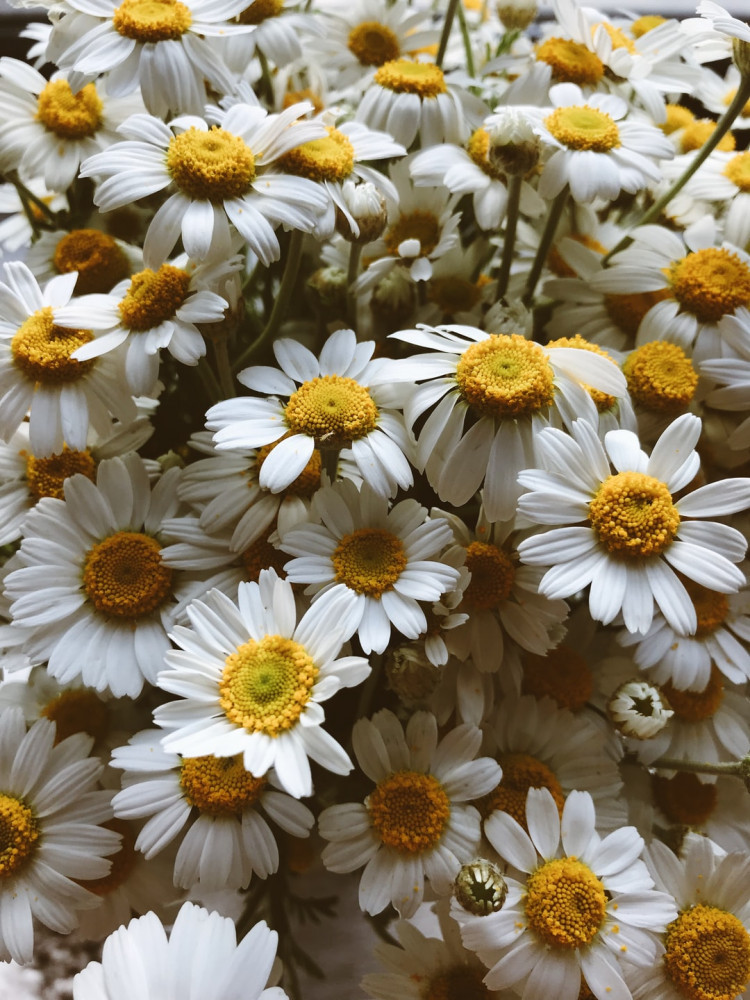 Chamomile essential oil and the whole herb are both very useful for skin conditions. Being a gentle herb with a long track record, chamomile is a go-to when dealing with sensitive skin, babies and kids.
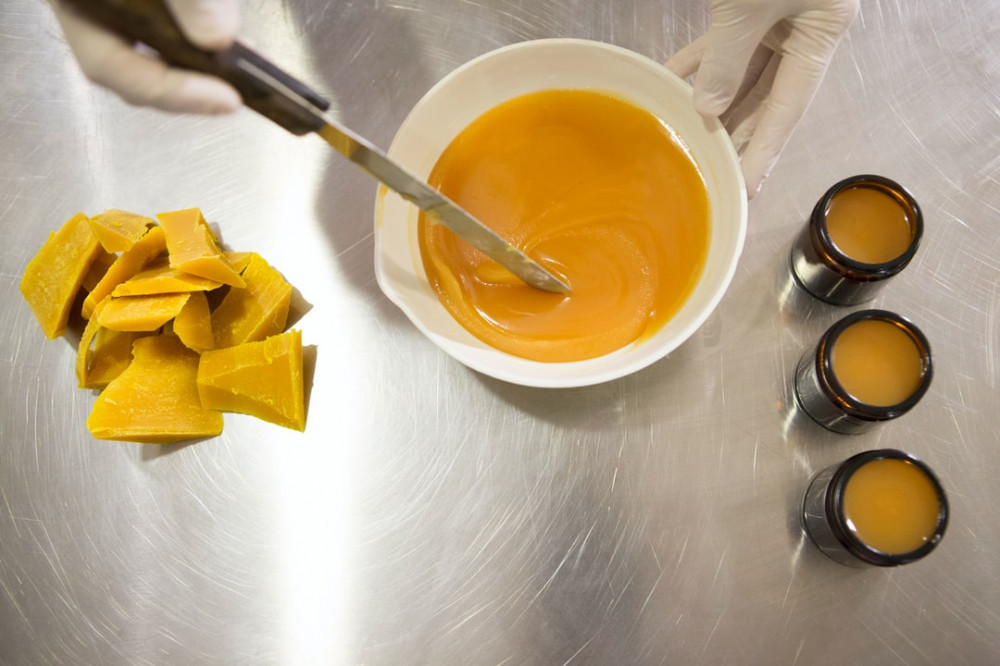 Calendula salve is a handy herbal first aid product, easy and inexpensive to make. If you have garden space, calendula is easily grown and makes a fabulous skin herb. The salve is useful whenever